So to celebrate our first step towards our marriage, I decided to make us a lovely lunch. Cheong fun is always a favourite meal for lunch, not too filling but oh so yummy. Usually we buy a packet from the local Chinese supermarket, but I wanted to try to make it myself.
The traditional method involves a lot of complicated steps and difficult steaming processes; but after scouring the internet for alternative methods I became very confident that I could do it! The traditional method involves using a very thin cheesecloth as the receptacle to produce some paper thin cheong fun. I did not have any cheesecloth lying around my house and I do not possess a steam boat, so I improvised.
I used small dishes as receptacles to make my cheong fun, and a wok to mimic a steam boat. I have to say the cheong fun may not be as wafer thin as the ones I buy from the supermarket or presented as pretty as the ones served at restaurants, I was still very happy with the outcome.
I'm sure if I trial this method a few more times I will get the hang of the quantities and produce some consistently smooth and thin cheong fun. Either way, the flavour of the cheong fun is pretty much on par with the ones I buy from the store. It may be more time consuming but it is definitely worth the effort. Give it a go, i definitely will be.
Homemade Steamed Cheong Fun (I made 7 rolls)
- 150g rice flour
- 2tbsp wheat starch
- 2tbsp corn flour
- 450ml water
- pinch of salt
- 1tbsp vegetable oil
- 10 dried shrimps
- 4 scallions
- Oil
Soak the dried shrimps in a bowl of water for at least 1 hour. Drain and then dice into small pieces. Set aside.
Dice the scallions. Set aside.
Mix the rice flour, wheat starch and corn flour in a mixing bowl. Slowly combine the water to make a thin batter with a whisk. Add the salt and 1tbsp of oil. Cover with cling film and set aside for at least 1 hour to let it rest.
Heat up a wok with some water and place a rack on the bottom to act as the platform for the steamer.
Use two small dishes to steam the cheong fun. Steam one dish at a time. Oil the bottom of the dishes.
Using a ladle, mix the batter to incorporate the flour and water mixture.
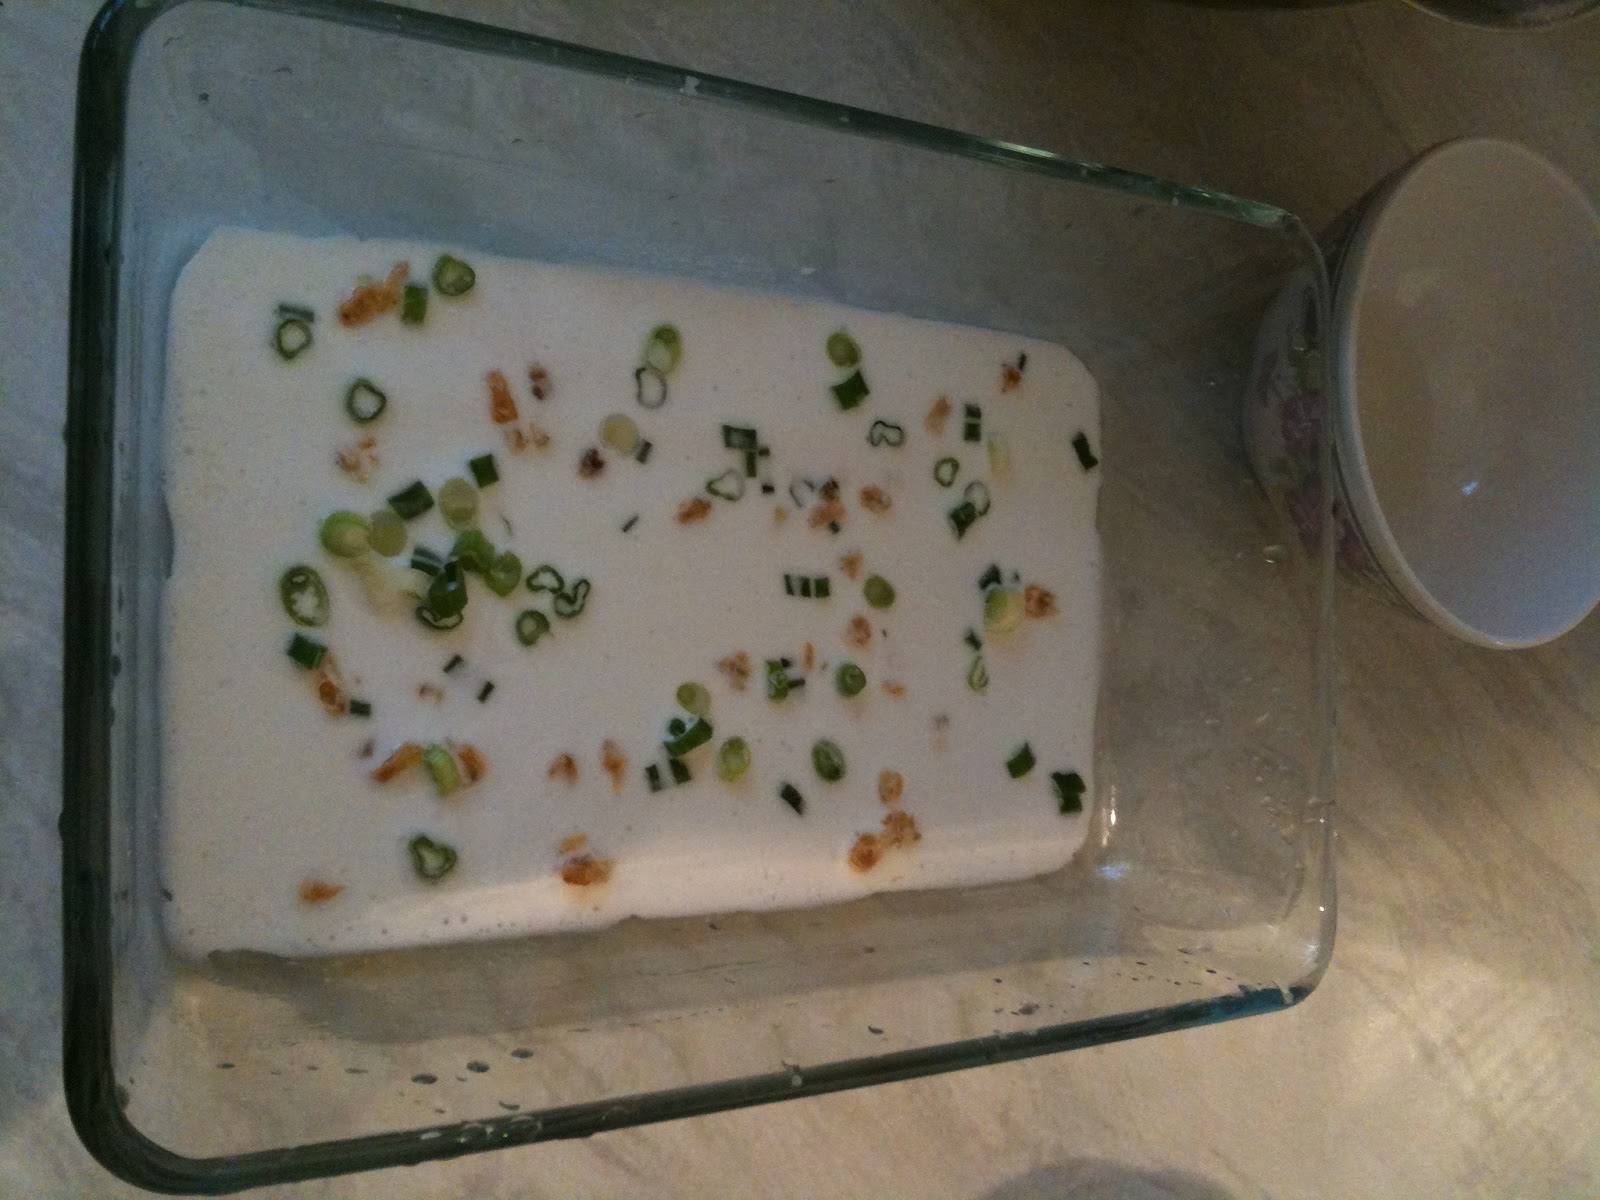
Spoon one ladle into the dish, then sprinkle some scallions and dried shrimps over the top.
Place onto the platform in the wok and cover with a lid, allow it to steam for 7 minutes.
After 7 minutes, remove from the wok. Set aside.
Repeat the process of ladling the batter and sprinkle the scallions and shrimps into the second dish and steam for 7 minutes. The dishes can be interchanged once one has finished steaming to cut down time.
The ready steamed cheong fun can now be rolled up. Oil a flat spatula and scrape the sides of the cheong fun and carefully roll from one end to the other.
Repeat these procedures until all the batter is used up. Remember to oil the pan before every use. Also check you have enough water in the wok for steaming, top up if needed.
You can eat it now with some soy sauce, or you can pan fry it like I do.
Heat some oil in a frying pan and place the ready steamed and rolled cheong fun in. When one side has browned, flip them over to brown the other side.
It is now ready to be served with plenty of hot chilli sauce, or my favourite, a combo of hoisin sauce and peanut sauce.
Enjoy!


No comments:
Post a Comment